Arepas are a staple of both Venezuelan and Colombian diets. There are many varieties. This is just how my family makes them. If you are unfamiliar with arepas, they are almost like an English muffin, except made out of pre-cooked cornflour. My go-to brand of masarepa (the type of flour) is called Harina P.A.N., and it’s available at MANY major grocery stores (you’d be surprised).
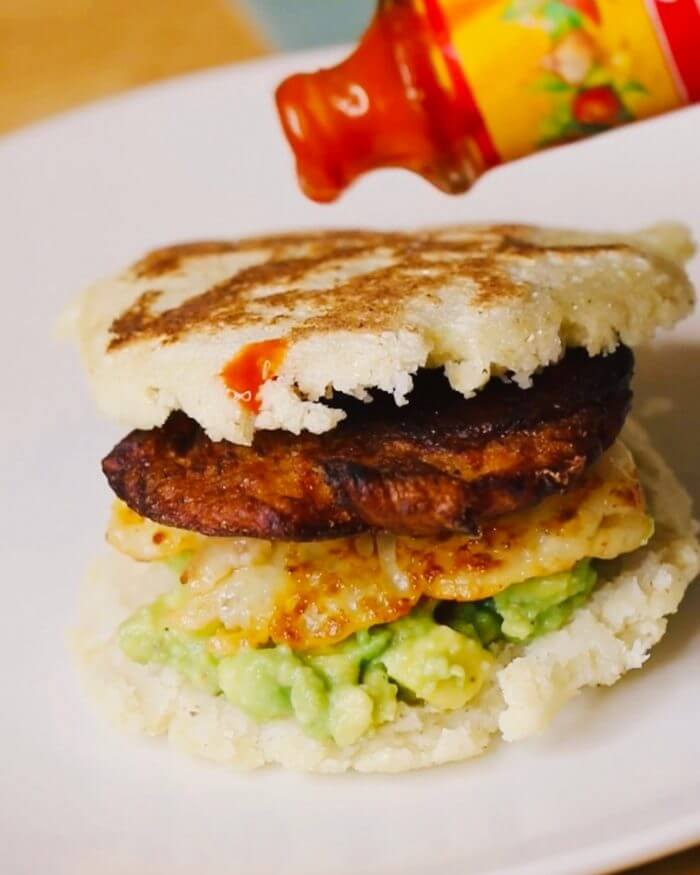
Having a Venezuelan dad meant eating arepas at least twice a week when I was home. I would love to wake up on Sunday to freshly made arepas. What I love the most about them is that you can fill them up with whatever you want. My personal favorites include fried egg, queso blanco (even better if fried) and avocado.
The most popular fillings include:
- De queso (with cheese)
- Reina Pepiada: shredded chicken with avocado and mayonnaise
- Sifrina: Reina Pepiada with cheese
- La Pelúa: Carne Mechada (shredded beef) and cheese
- La Catira: shredded chicken and cheese
I would always eat them for breakfast, but you can eat them any time! They are super versatile and easy to make.
When I left for college, I found myself missing arepas, so I learned how to make them myself. Arepa brunches became a regular thing in my apartment, and I was lucky enough to share them with my closest friends and roommate (Jeremy!).
Every household makes these differently, some add flour first, others do water. Do whatever works for you! Don’t take the recipe too seriously, I usually eyeball it and you’ll get better every time you make them. I am sharing the recipe my grandmother taught me. I hope you make arepa brunches your thing too, I can assure you’ll love them.
Recipe Ingredients
For the dough
- 2 cups Harina P.A.N. (special pre-cooked corn flour specifically for making arepas)
- 2 ½ cups water
- 1 tbsp salt
- 1/2 cup grated parmigiano reggiano (optional – some families add, many don’t)
Suggested Toppings
- Fried Egg
- Mashed Avocado
- Fried cheese
- Pretty much anything
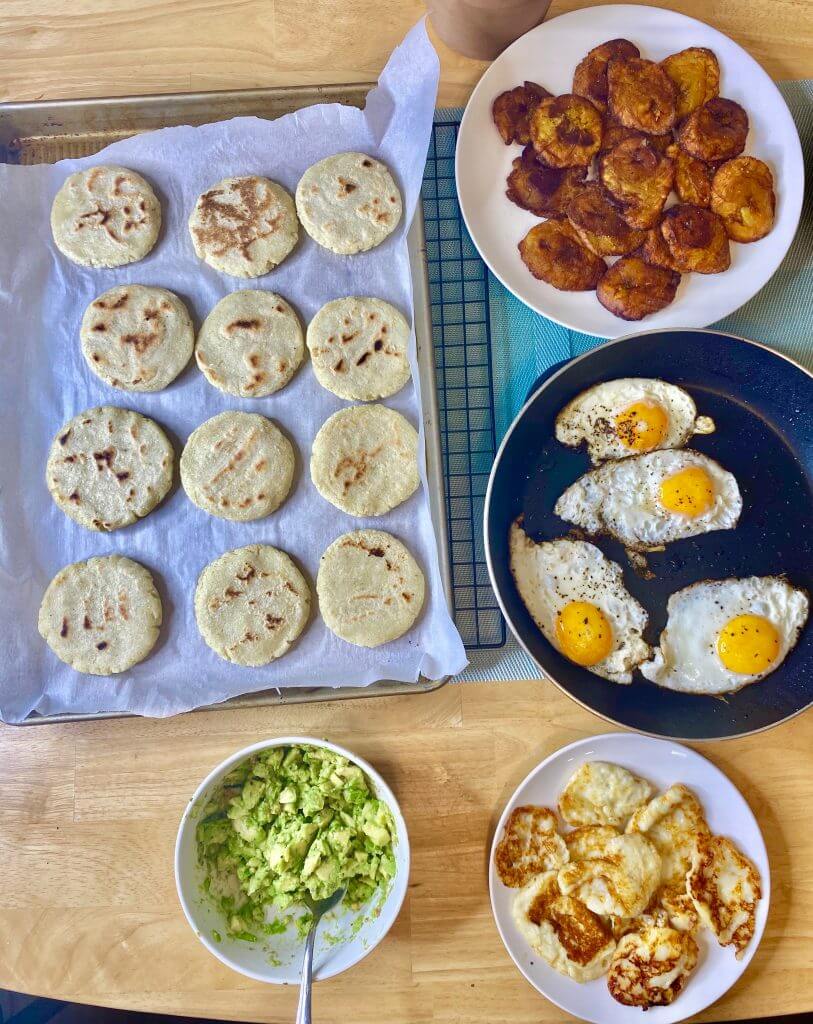
Recipe Instructions
- In a medium bowl, add the flour and salt, slowly incorporate water while kneading (I always use my hands) until a smooth dough is formed.
- Using wet hands to prevent the dough from sticking, take a handful of the dough and shape into a small ball, then slowly press with both of your hands to form a patty. (Thickness and size depend on your personal liking)
- Place into a griddle or frying pan with a little bit of oil to prevent them from sticking, it will take approximately 5 minutes per side on medium heat. Optional: You can bake your arepas at 375° F for an extra 5 minutes. You can also get an arepa maker and get perfect arepas every time.
- Cut the arepa 3/4 of the way around, leaving a seam on the edge so you can fill it.
- You can also store your arepas in the fridge for 3-4 days, reheat them in the oven or toaster.
Categories: Breakfast
Leave a Reply